Git Tutorial
Git and GitHub
Git Contribute
Git Advanced
Git Undo
Git GitHub Fork
How to Fork a Repository?
The forking and branching are excellent ways to contribute to an open-source project. These two features of Git allows the enhanced collaboration on the projects.
Forking is a safe way to contribute. It allows us to make a rough copy of the project. We can freely experiment on the project. After the final version of the project, we can create a pull request for merging.
It is a straight-forward process. Steps for forking the repository are as follows:
- Login to the GitHub account.
- Find the GitHub repository which you want to fork.
- Click the Fork button on the upper right side of the repository’s page.
We can’t fork our own repository. Only shared repositories can be fork. If someone wants to fork the repository, then he must log in with his account. Let’s understand the below scenario in which a user pune2016 wants to contribute to our project GitExample2. When he searches or put the address of our repository, our repository will look like as follows:
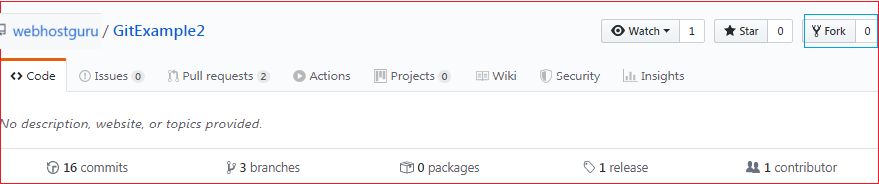
The above image shows the user interface of my repository from other contributors. We can see the fork option at the top right corner of the repository page. By clicking on that, the forking process will start.
It will take a while to make a copy of the project for other users. After the forking completed, a copy of the repository will be copied to your GitHub account.
It will not affect the original repository. We can freely make changes and then create a pull request for the main project.
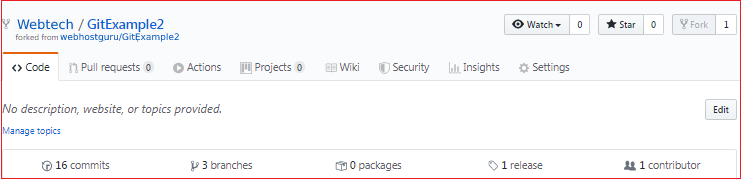
The owner of the project will see your suggestion and decide whether he wants to merge the changes or not. The fork copy will look like as follows: