
phpMyAdmin is a free open-source software tool that is written in PHP and used to handle the administration of MySQL over the Web. phpMyAdmin provides a wide variety of operations on MySQL and MariaDB. As a portable web application, it is one of the most popular MySQL administration tools specifically for web hosting services.
In case, if you are using a virtual private server, you’ll have to install phpMyAdmin on the server manually. The process of installing phpMyAdmin on the Ubuntu server’s versions 18.04 and 20.04 has been described below.
Before installing phpMyAdmin, install the LAMP (Linux, Apache, MySQL, PHP) on your server.
Installing phpMyAdmin on the Ubuntu server’s versions 18.04 and 20.04
In addition to the installation, you will need to grant permission, create a separate user, and secure phpMyAdmin.
Step1. phpMyAdmin package installation
The installation procedure is done using an SSH client. But there are some differences between Ubuntu 18.04 and Ubuntu 20.04 commands.
Installing phpMyAdmin-Ubuntu 18.04
Run the command mentioned below to install the phpMyAdmin package and PHP extensions:
sudo apt-get install -y phpmyadmin php-mbstring php-gettext
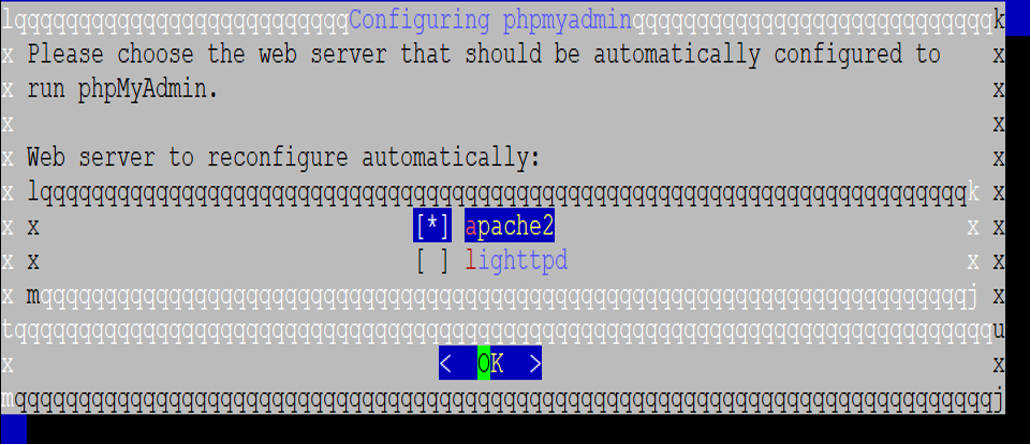
Select a web server to configure phpMyAdmin. Select Apache by pressing Space. A * character that will appear in the bracket next to apache2, which indicates that you’ve selected it. Press Enter to continue.
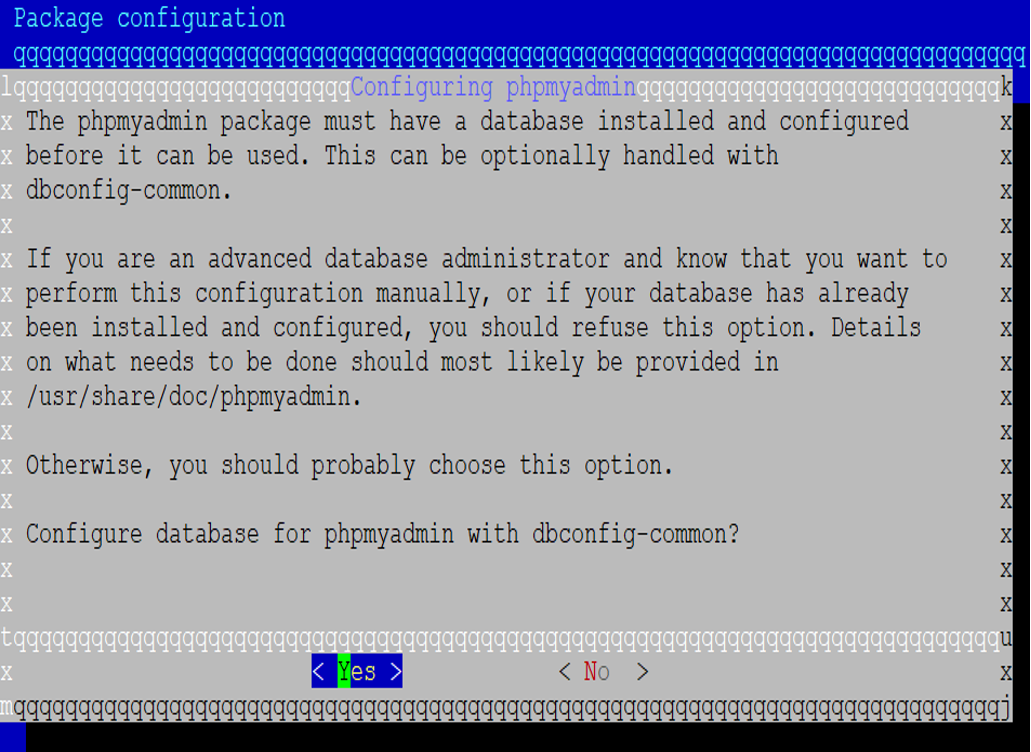
Configure the database by selecting yes.
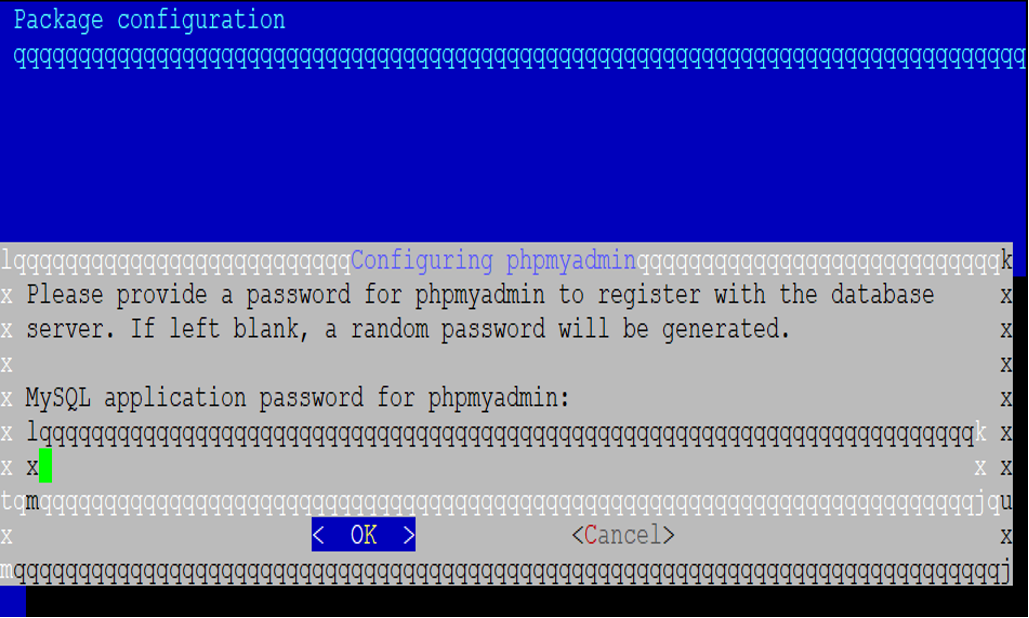
Set a MySQL application password for phpMyAdmin. When prompted verify it, and the installation will be completed.
Installing phpMyAdmin on Ubuntu 20.04
Run the below for the installation of phpMyAdmin on Ubuntu 20.04
sudo apt install phpmyadmin php-mbstring php-zip php-gd php-json php-curl
Then, select a web server and Apache2 by pressing the Space key. Press Enter to continue. Select Yes and set a password for phpMyAdmin.
Once completed, allow the PHP Mbstring extension with this command:
sudo phpenmod mbstring
Restart the Apache service by using the below command
sudo systemctl restart apache2
Step2.Setting up the User and Grant Permissions
You’ll have to grant some permissions to phpMyAdmin so that one can create and manage MySQL databases.
Log in to the MySQL command line as a root user with this command:
sudo mysql -u root -p
Enter the MySQL root password before accessing the command line. Once the MySQL root account has been accessed, grant permissions to the phpMyAdmin by executing these commands one at a time:
GRANT ALL PRIVILEGES ON *.* TO 'phpmyadmin'@'localhost';
FLUSH PRIVILEGES;
EXIT
Step3: Access phpMyAdmin on a Browser
Once the installation procedure is complete, open the browser and go to http://your-server-IP/phpmyadmin. Replace your server-IP with the server’s IP address. In case you are using Hostinger VPS, you will find the IP address on the server management panel.

For Localhost, you can use the http://localhost/phpmyadmin URL.
The phpMyAdmin login page will be displayed:
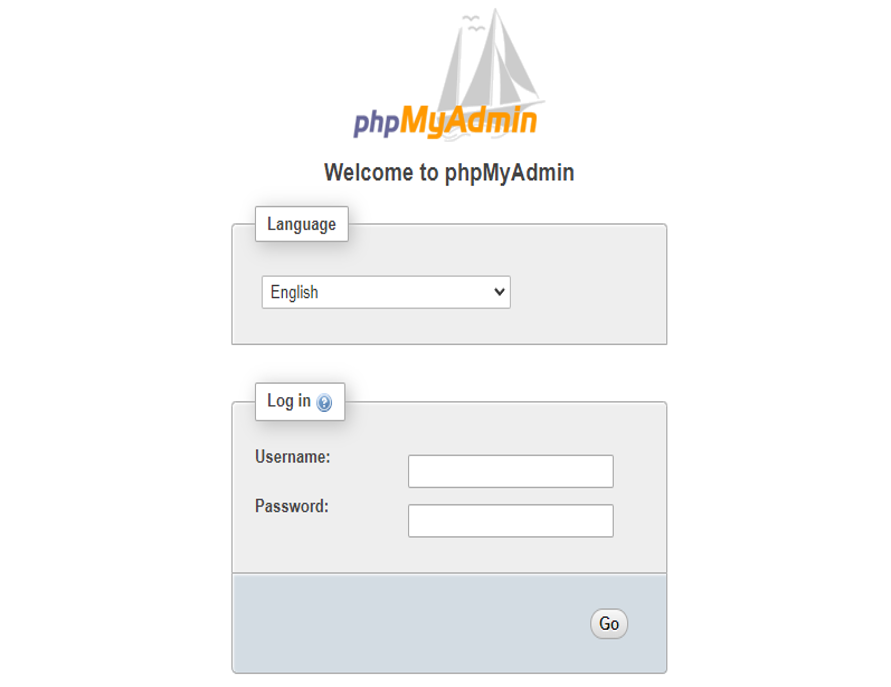
For security purposes, Ubuntu 18.04 and Ubuntu 20.04 don’t support root login. Instead, log in with the phpMyAdmin username and the MySQL password that you have set in Step 1. You will be logged in to the phpMyAdmin web interface.
Step4: Create a separate phpMyAdmin User (optional)
If you don’t find working with phpMyAdmin secure, create a new dedicated MySQL user with full privileges.
All you need to do is access the MySQL command-line interface as a root user to create a dedicated user. Use this command to do so:
sudo mysql -u root -p
Input the MySQL root password when prompted. Enter the below-mentioned commands to create a new user:
CREATE USER username IDENTIFIED by 'password';
GRANT ALL PRIVILEGES ON *.* TO 'username'@'localhost';
FLUSH PRIVILEGES;
EXIT
Replace the username and password with the desired MySQL credentials. Remember to use a strong password to secure the account.
Restart the Apache server if you encounter any problems logging in. This is the command to do so:
sudo systemctl restart apache2
The Status tab on the phpMyAdmin dashboard shows the number of connections to the MySQL database server which includes the current MySQL queries running on the server, and for how much time the server has been operating duration.

Step5: Securing phpMyAdmin (optional)
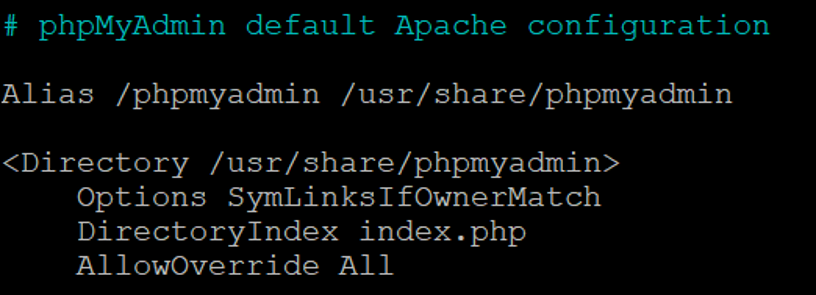
phpMyAdmin is vulnerable to cyberattacks, so for precaution purposes, one should implement measures such as an authentication method to improve security. Apache’s built-in .htaccess authentication helps in enabling additional login in front of the application and provides better authorization features. This can be done by allowing .htaccess file to override along with modifying the phpMyAdmin Apache configuration file. Below is the command to open and edit the file using the Nano text editor:
sudo nano /etc/apache2/conf-available/phpmyadmin.conf
Add an AllowOverride All line in the <Directory /usr/share/phpmyadmin> section.
<Directory /usr/share/phpmyadmin>
Options SymLinksIfOwnerMatch
DirectoryIndex index.php
AllowOverride All
The display will be like
Save and exit the file by pressing CTRL+X. Click Y and Enter when prompted. Restart the Apache webserver to see the changes by using this command:
sudo systemctl restart apache2
Now, create a .htaccess file in the phpMyAdmin application directory using the mentioned command:
sudo nano /usr/share/phpmyadmin/.htaccess
Now you can edit the .htaccess file in the Nano text editor using the following:
AuthType Basic
AuthName "Restricted Files"
AuthUserFile /etc/phpmyadmin/.htpasswd
Require valid-user
Save and exit the file. .htaccess specifies that the file for the password is /etc/phpmyadmin/.htpasswd, the same path will be used.
To create the password file, use the below command and pass it using the htpasswd utility:
sudo htpasswd -c /etc/phpmyadmin/.htpasswd USERNAME
Replace USERNAME with the actual username. Put input and confirm a password. Now, the file will be created, and the password will be hashed.
An additional username can also be created by using the same command but excluding the -c option:
sudo htpasswd /etc/phpmyadmin/.htpasswd ADDITIONAL_USERNAME
Restart Apache using the command:
sudo systemctl restart apache2
A new username and password authentication pop-up will be displayed while accessing phpMyAdmin. Verify it by visiting http://your-server-IP/phpmyadmin. The sign-in prompt looks like this:
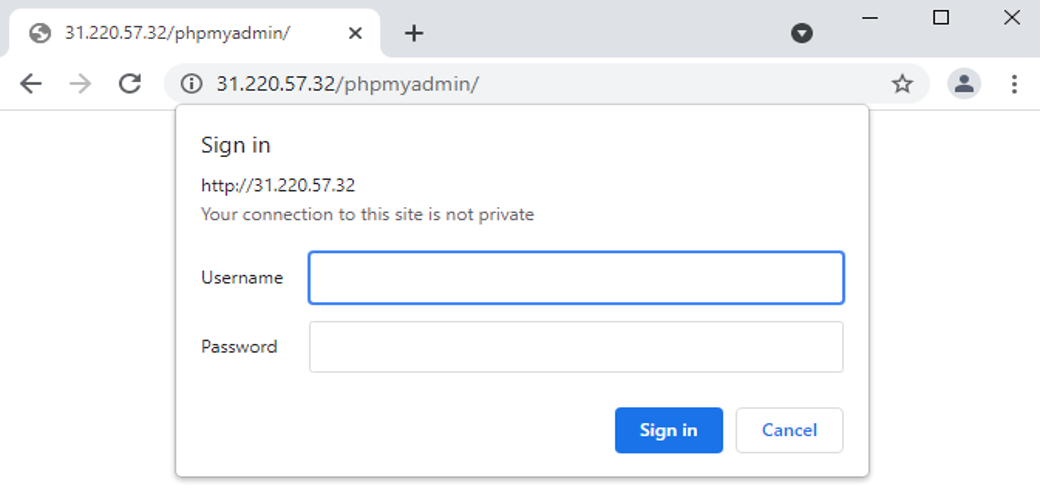
Enter the username and password that you have created. After signing in, you’ll find the phpMyAdmin login page. Use the phpMyAdmin user credentials to access the phpMyAdmin web interface.
phpMyAdmin helps in managing MySQL databases easily and performing Ubuntu 20.04 is the same, the only difference is in the commands used during the early steps.